This tutorial will walk you through the steps of bringing your MetaHuman to life with facial mocap straight from your iPhone. You will be guided through the process of setting up a new project readyu for animation, importing your MetaHuman and connecting it to Live Link, before finally recording your animation and saving it as a separate asset that you can reuse on any other MetaHuman later.
The Live Link Face app only works for the iPhone X or above, so you will need access to one of these before beginning this tutorial. The screenshots in this tutorial are from UE4.26.2 but the same steps will also work in UE5, although the UI will look different. The main difference is that in UE5, Quixel Bridge is incorporated directly into the engine, whereas if you are on Unreal Engine 4, you will need to download Quixel Bridge from here: www.quixel.com/bridge
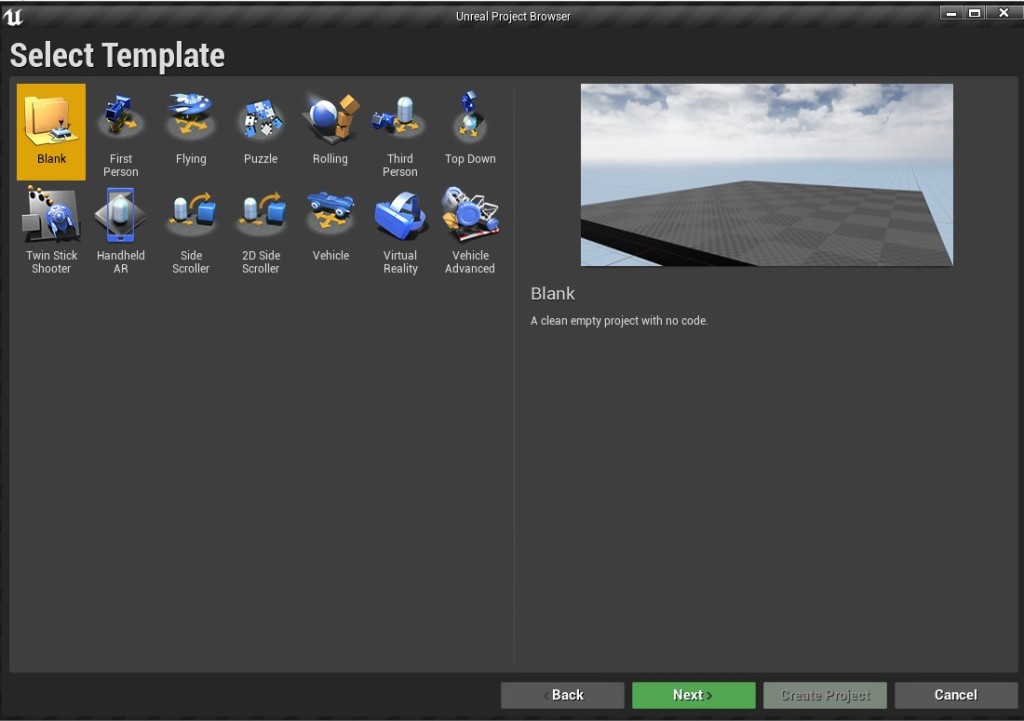
1 – Starting a new project
- Open Unreal Engine and start a new blank project

2- Downloading and importing the MetaHuman into Unreal Engine
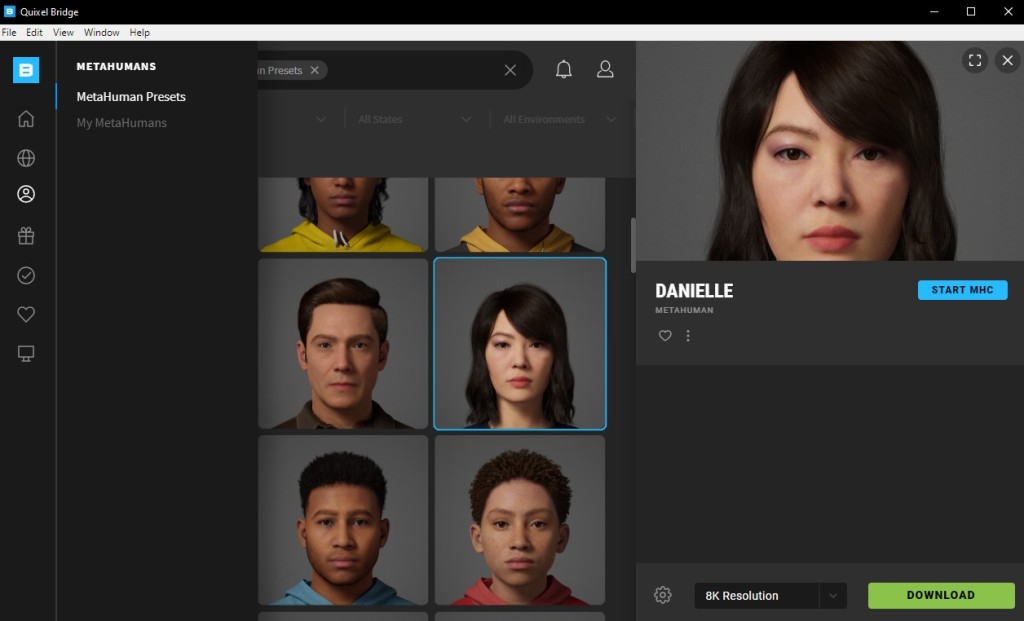
- Open Quixel Bridge and sign in with your Epic Games account
- Navigate to the MetaHumans panel and download one of the premade MetaHumans or create your own custom MetaHuman at www.metahuman.unrealengine.com. For this example, we will use Danielle.
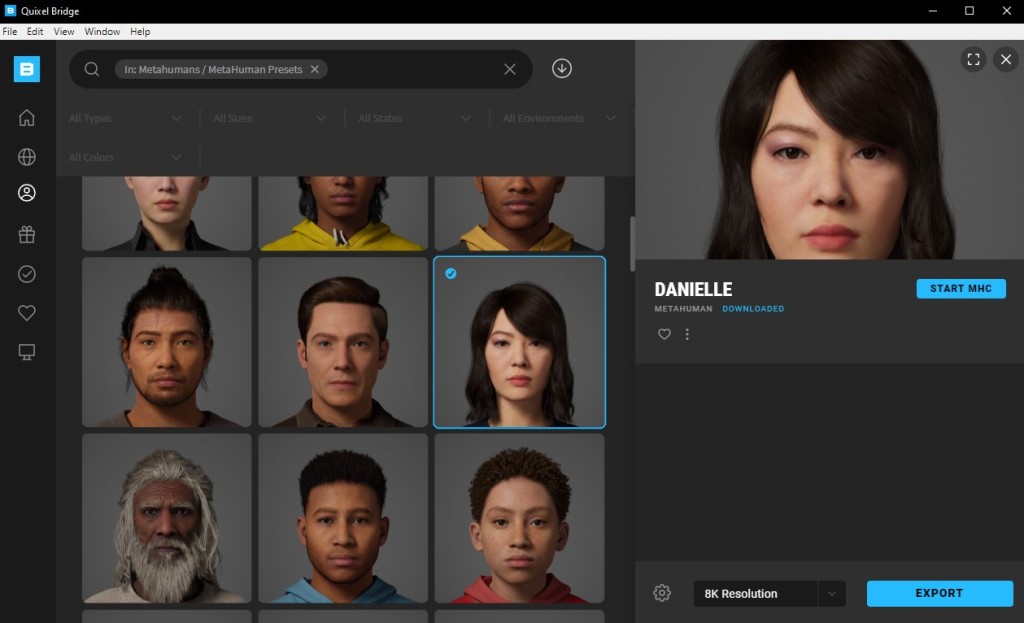
- Once the download is complete, press “export” while your unreal engine project is open in another window. Your MetaHuman will be imported into your UE4 Project.
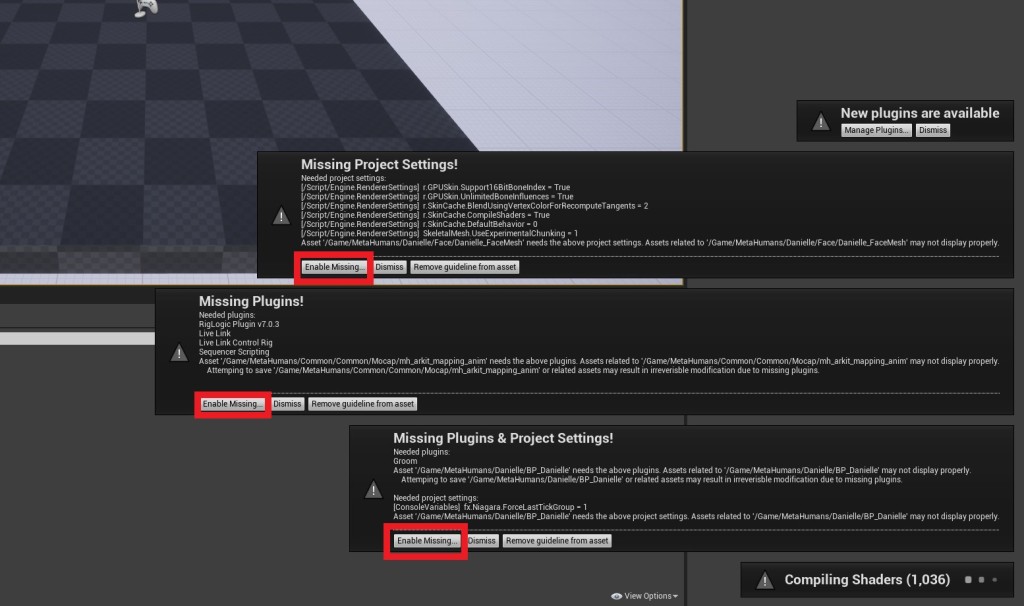
3 – Enabling necessary plugins
- After your MetaHuman is imported, you will see several warning messages asking you to enable missing plugins and project settings. Press “Enable Missing…” for all of these
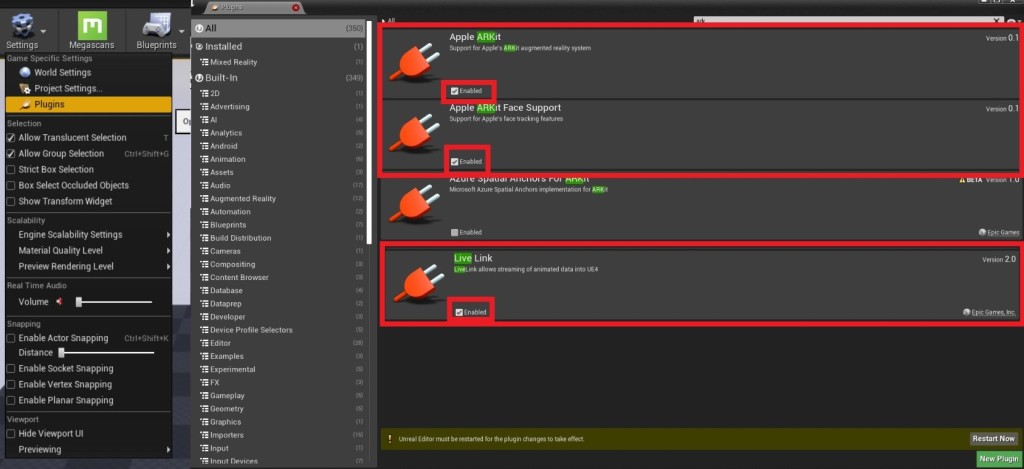
- You now need to make sure the Live Link, Apple ARKit and Apple ARKit Face Support Plugins are enabled. To do this, go to “settings > plugins” and then search for each of these in the search bar. Press ‘enable’ on each. You will need to restart Unreal Engine for this to take effect
4 – Placing your MetaHuman into the scene
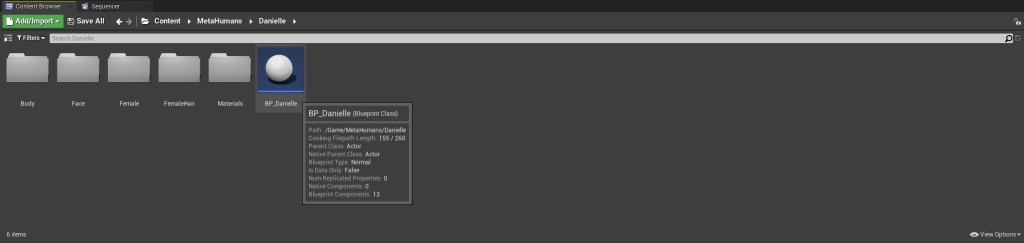
- With the necessary plugins enabled, you may now drag your MetaHuman into your scene. You can find the MetaHuman in your content browser at “Content > MetaHumans > Danielle > BP_Danielle “. Drag the BP_Danielle file into your viewport.
5 – Connect your MetaHuman to the Live Link Face App on your Iphone X (or above)
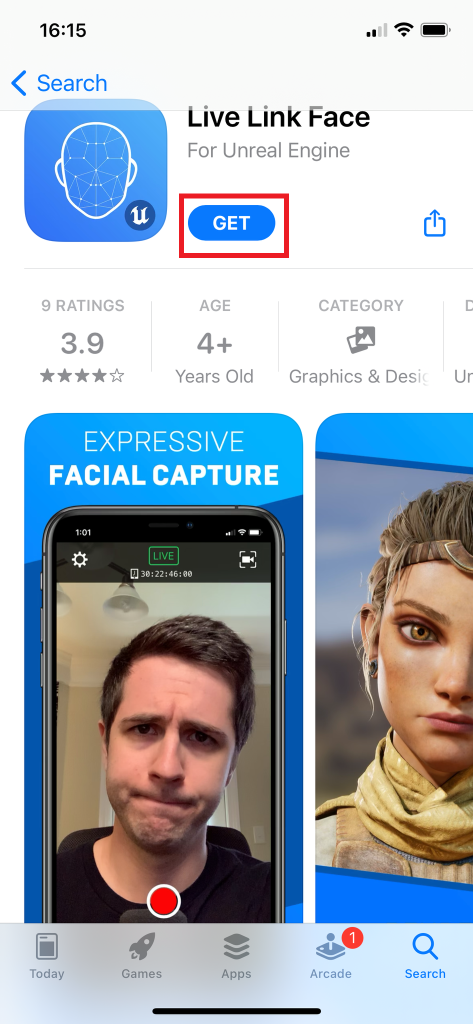
- First Download the Live Link Face App off the App store
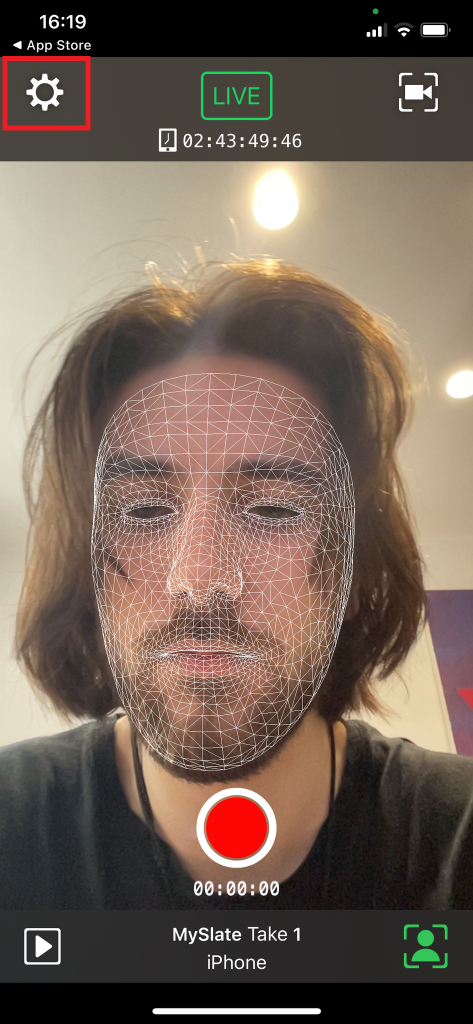
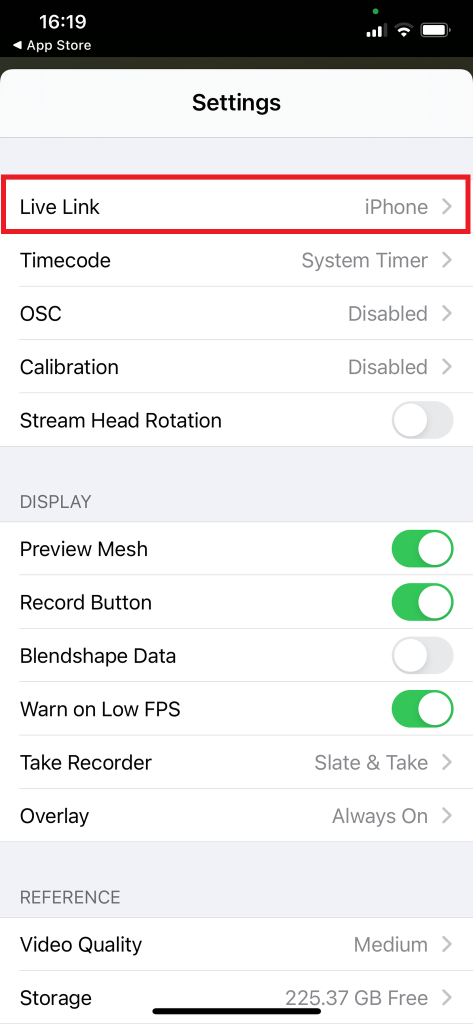
- Open the app and go to the settings icon in the top left corner
- In Settings go to Live Link and then “Add Target”
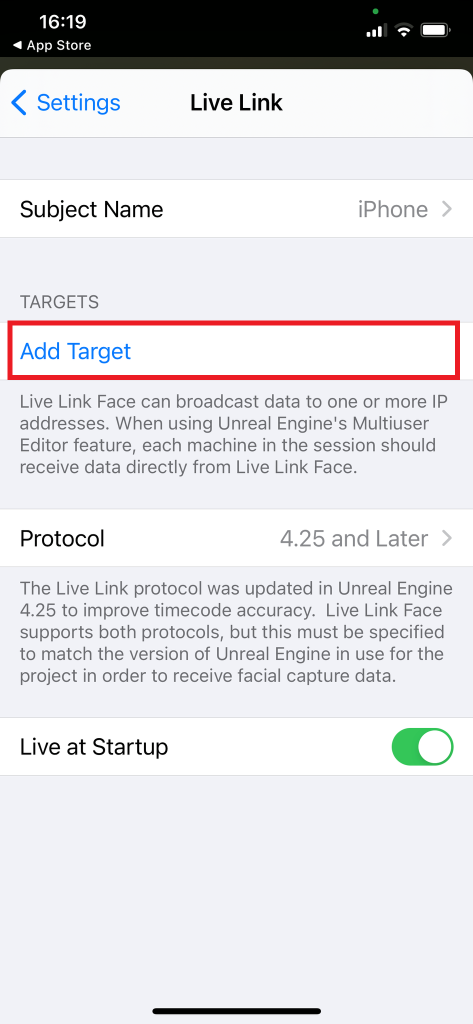
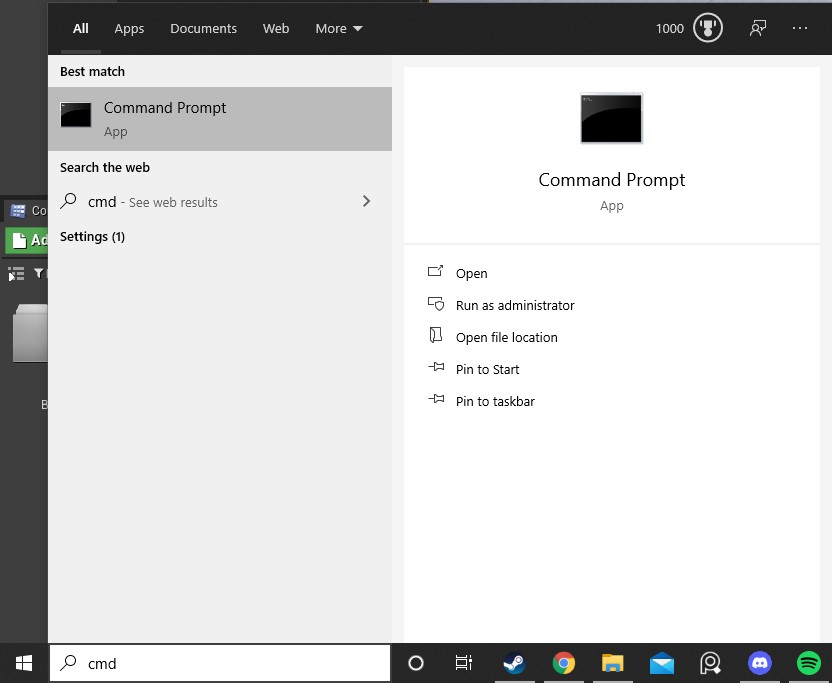
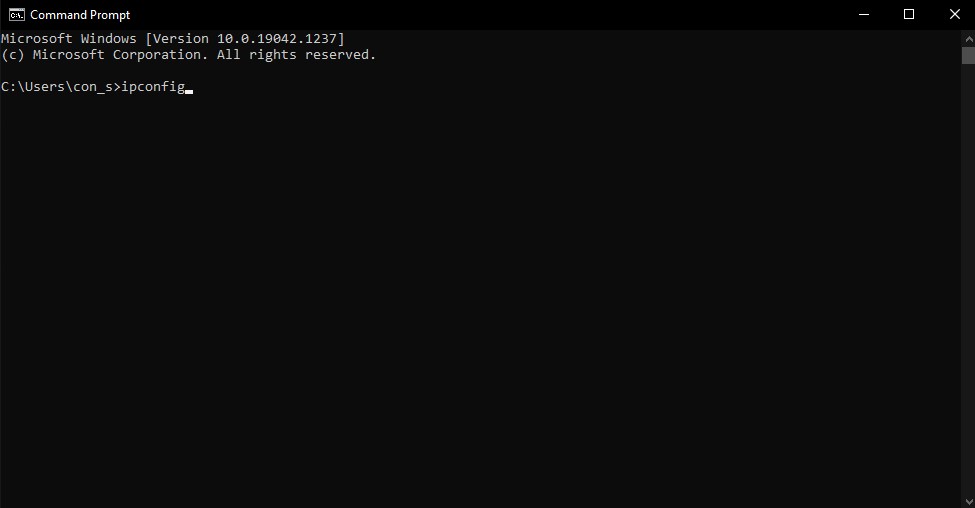
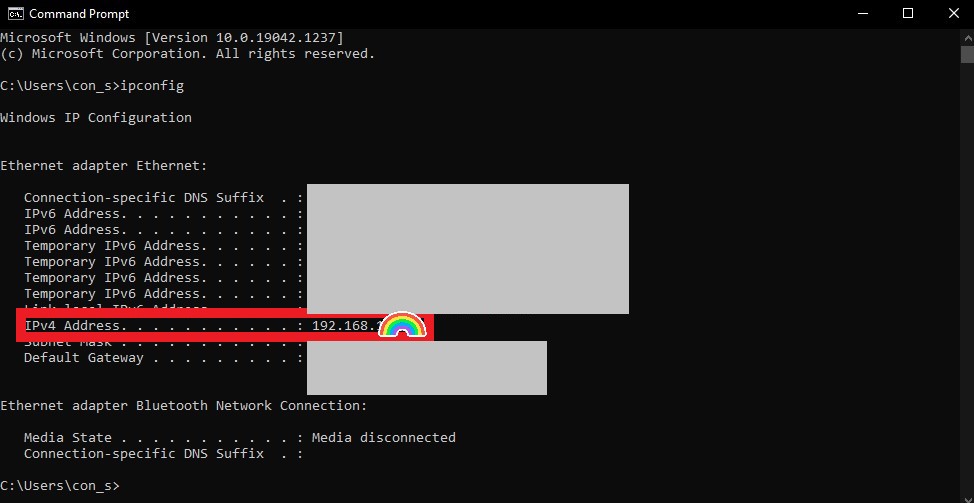
- Here you will need to input the IP address of your computer. You can find this on your computer by pressing the windows key and typing “cmd” to open the Command Prompt. Here type in “ipconfig”.
- Look for the line reading “IPv4 Address…”. The number at the end of this is what you need to enter into the Live Link Face App on your phone.
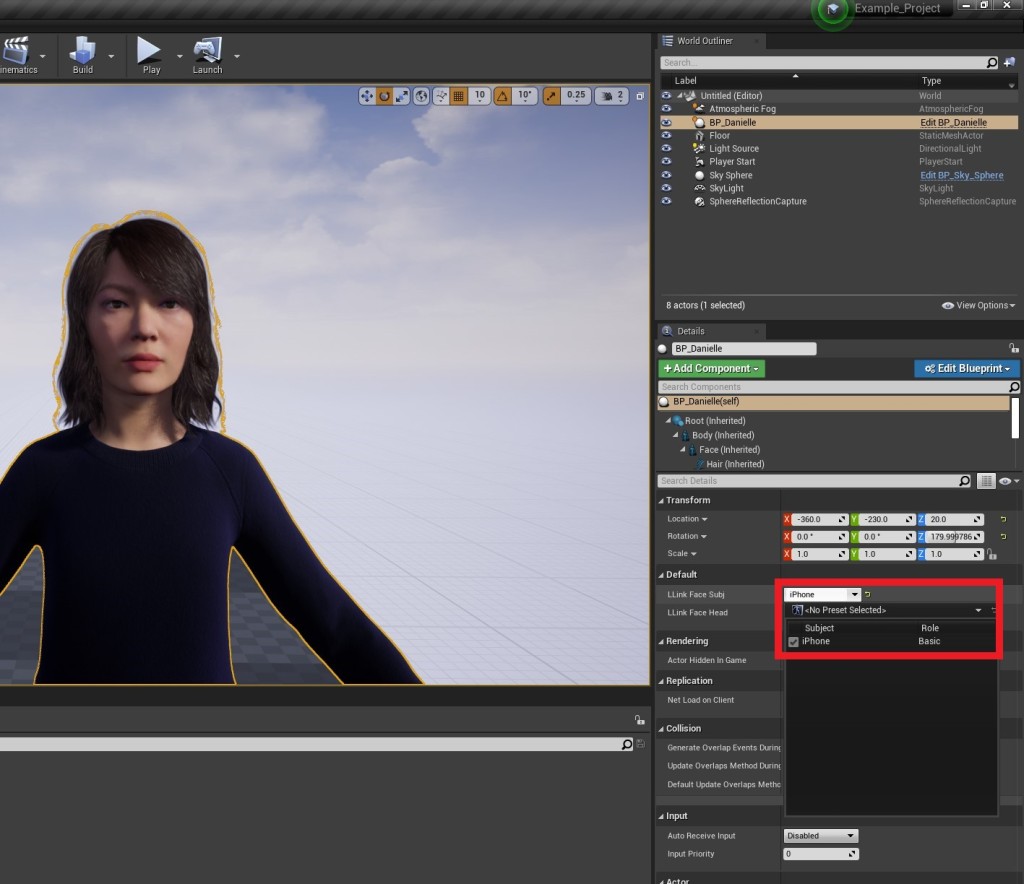
- Now back in Unreal, go to the viewport and select your MetaHuman. In the Details Panel, under “Default” there is an option called “LLink Face Subj” with a dropdown menu. Click this and choose your iPhone from the list.
- You are connected! If you want to additionally stream head rotation, you must enable the option below “LLink Face Subj” called “LLink Face Head” and “enable stream head rotation” in the settings of the Live Link App on your phone.
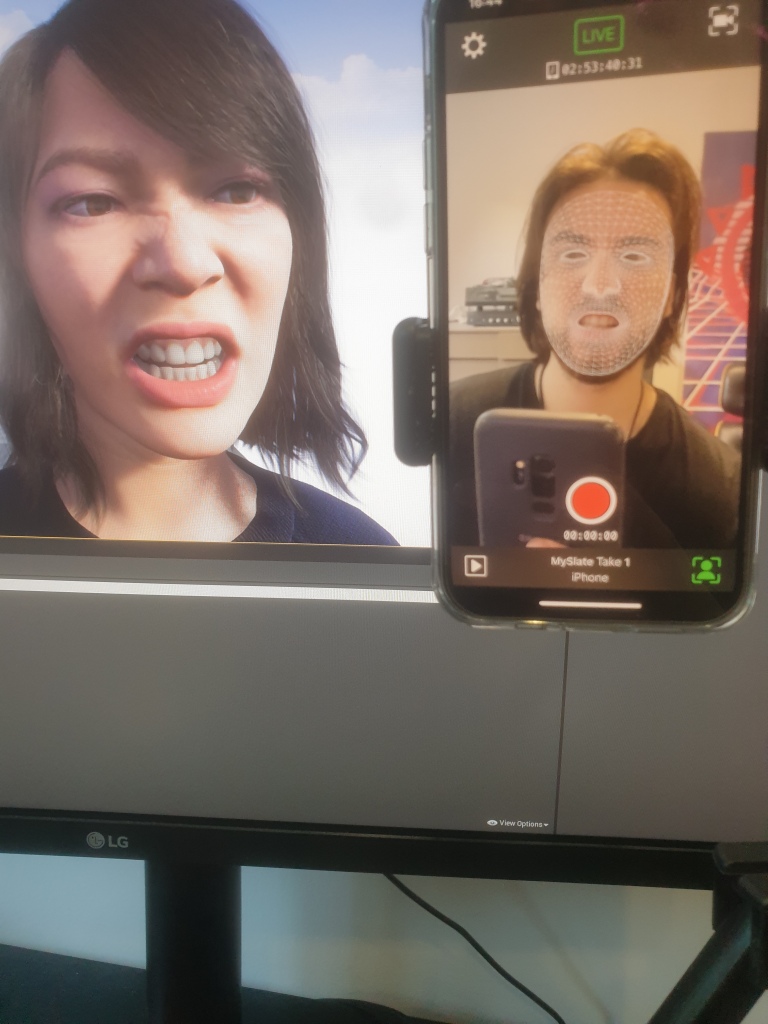
- To test the connection hit the play button at the top and move the camera so you can see your MetaHuman’s face. If you’ve followed the above steps correctly, the MetaHuman should be copying your facial movements.
6 – Recording a performance with the take recorder
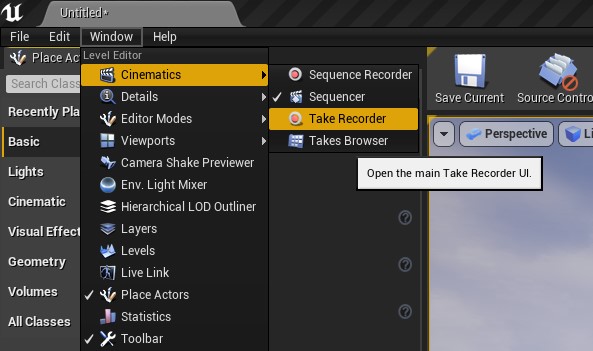
- First open the take recorder by going to “Window > Cinematics > Take Recorder”
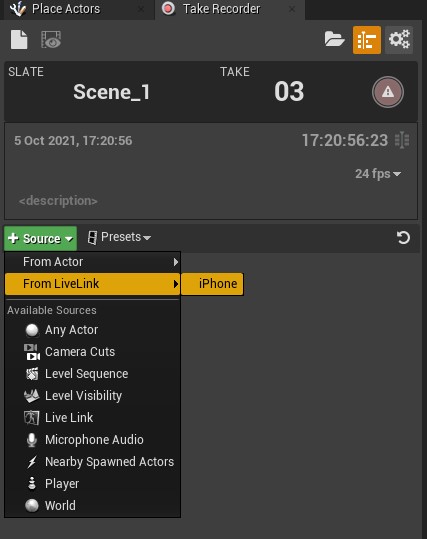
- You need to add your iPhone as a source. Click the green “+ source” button and then “From LiveLink > iPhone”
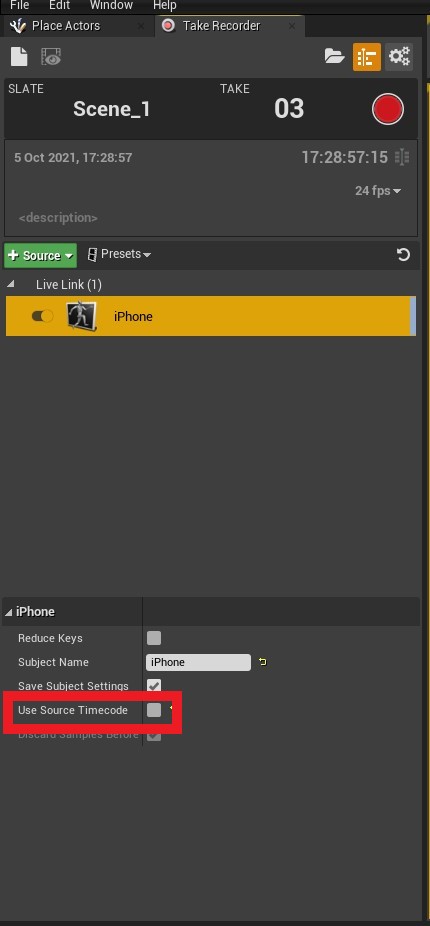
- Select the iPhone source to bring up more details and uncheck “use source timecode”
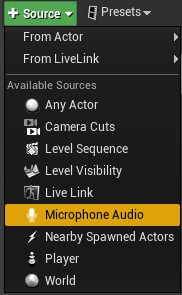
- If you want to then also record sound (for example, you are recording a speaking part, then add “microphone audio” as another source
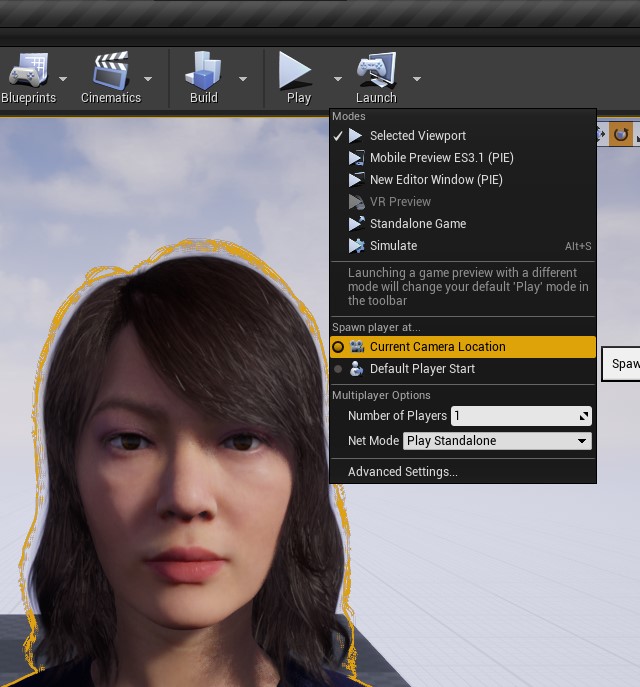
- Before recording your take, click the play button at the top of the screen (to keep the camera from jumping to the centre of the world, change the spawn location from “Default Player Start” to “Current Camera Location”) This lets you see your MetaHuman moving during your recording
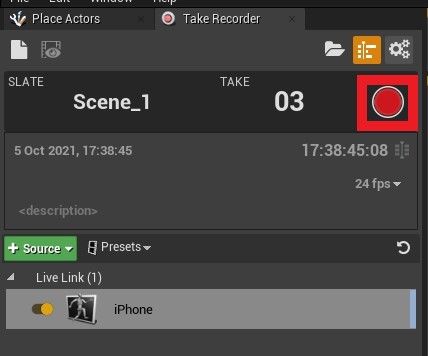
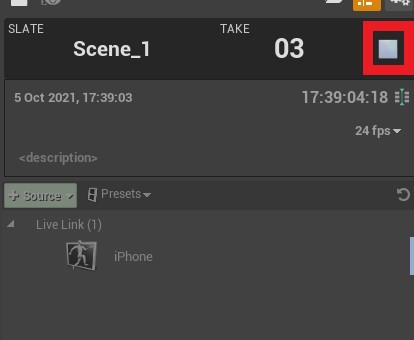
- To record your take, press the circular red record button. There will be a three second count down before your take goes live. Press the square stop button when you are done.
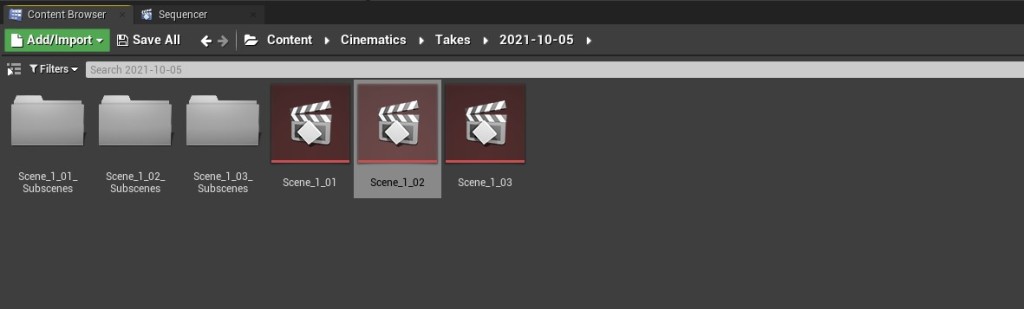
- Your take will be saved as a level sequence and can be found through the content browser at “Content > Cinematics > Takes > ‘current-date’ “
7 – Saving the take as an animation for later use in sequencer
- To open your take in Sequencer, navigate to “Content > Cinematics > Takes > ‘current-date’ “ and find your take as a level sequence. Open it and then double click on the track “iPhone_Scene_…”. If you scroll through the keyframes and cannot see the animation play, this is likely because you have exited ‘Play’ mode.
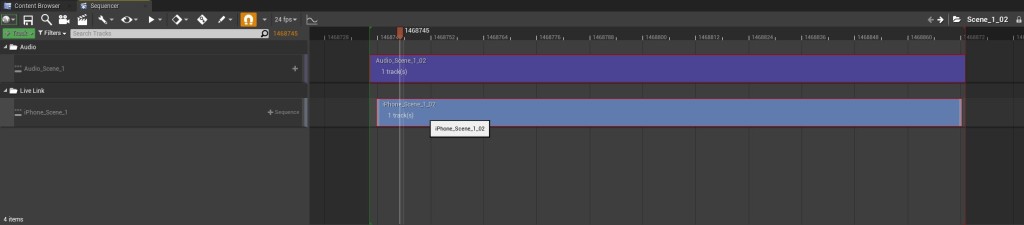
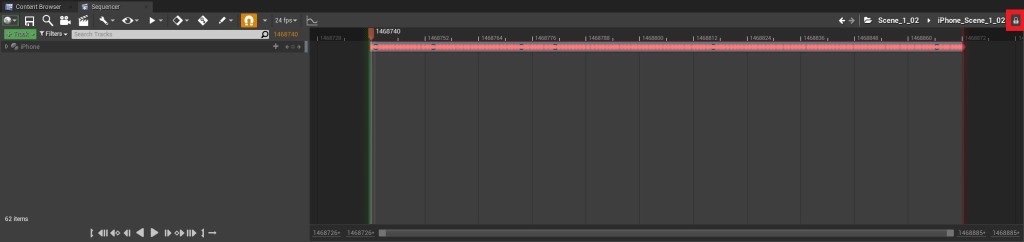
Unlock this sequence by clicking the lock icon in the top right
- You won’t be able to edit anything on this yet, as by default, takes are saved as locked. To edit it, we will need to click the lock icon in the top right corner of the sequence.
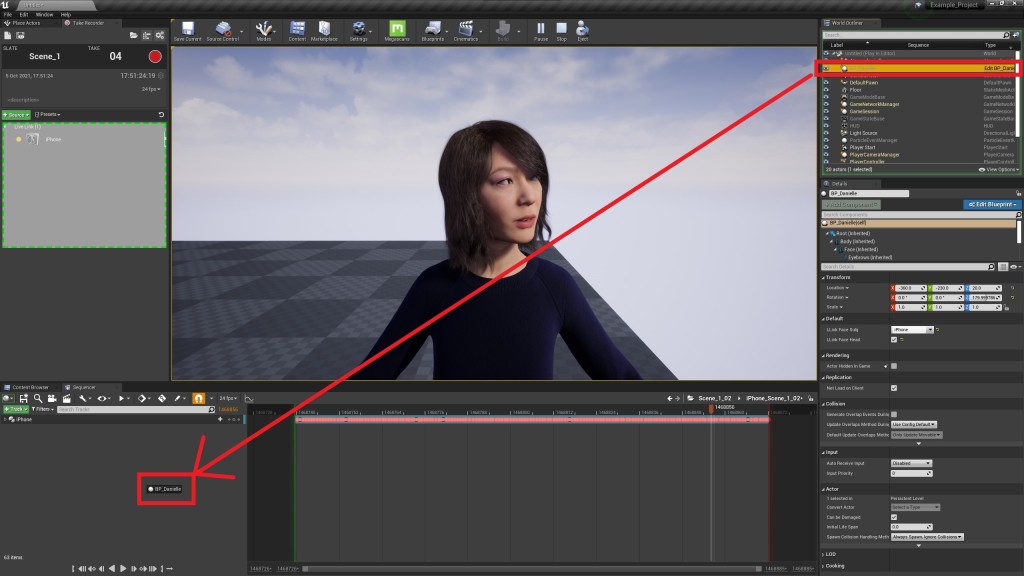
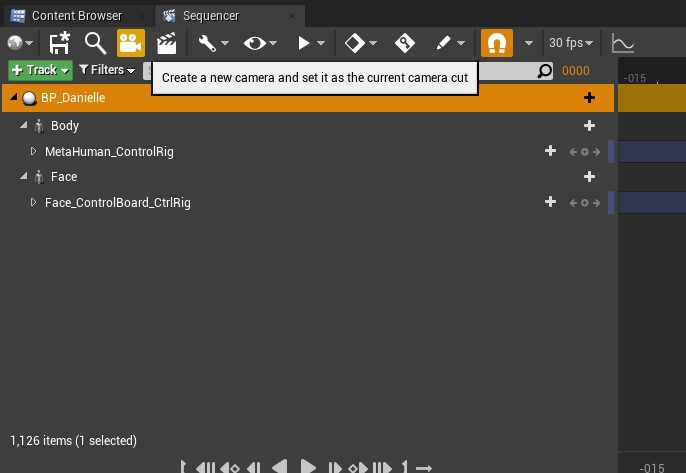
- We are trying to save the take as an animation asset that we can use later. To do this, we need to add BP_Danielle to our timeline and bake the animation sequence. Drag BP_Danielle from the world outliner to the space in Sequencer underneath our iPhone Data.
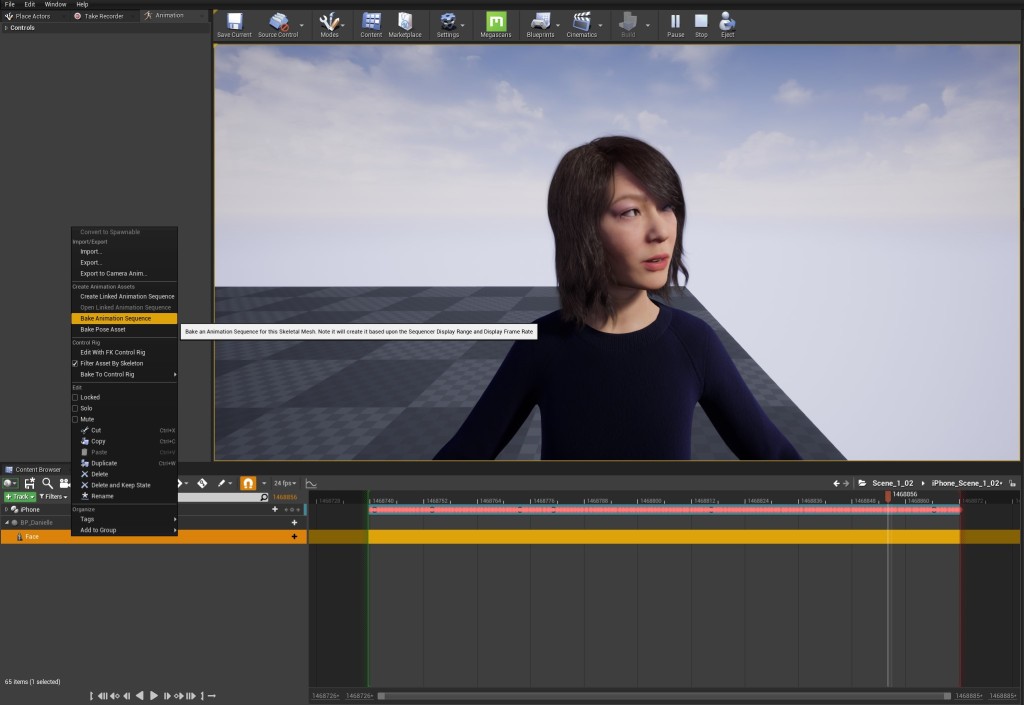
- We don’t need the Body, MetaHuman_ControlRig or Face_ControlBoard_CtrlRig tracks so delete those, leaving only the face track.

- Next, right-click on the face track and click “bake animation sequence”. Name and choose where to save your animation and press “ok” and then “export to animation sequence”
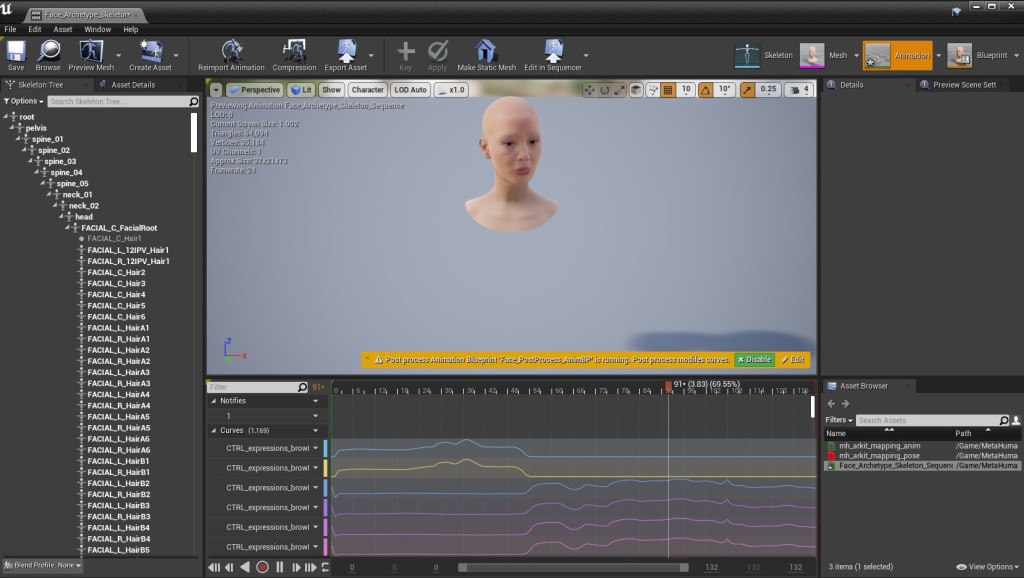
- You can then navigate to wherever you saved your animation asset (“Content > MetaHumans > Common > Face”) and open it to see the animation on its own.
8 – Re-using your animation asset in sequencer
- So now we have our MetaHuman facial animation asset we can then apply this to any MetaHuman in a separate sequence, with other animations (for the body for example) also applied separately.
- Let’s create a new level sequence and add a camera and our MetaHuman. Do this by clicking “Cinematics > New Level Sequence”. Press the camera icon to create a new camera and then drag in BP_Danielle (or whichever MetaHuman you’d like to animate) as before.

- Click the tiny camera icon next to “Cine Camera Actor” to lock your viewport to the camera. You can now move around and position your camera as you’d like. You can adjust the camera settings in the details panel

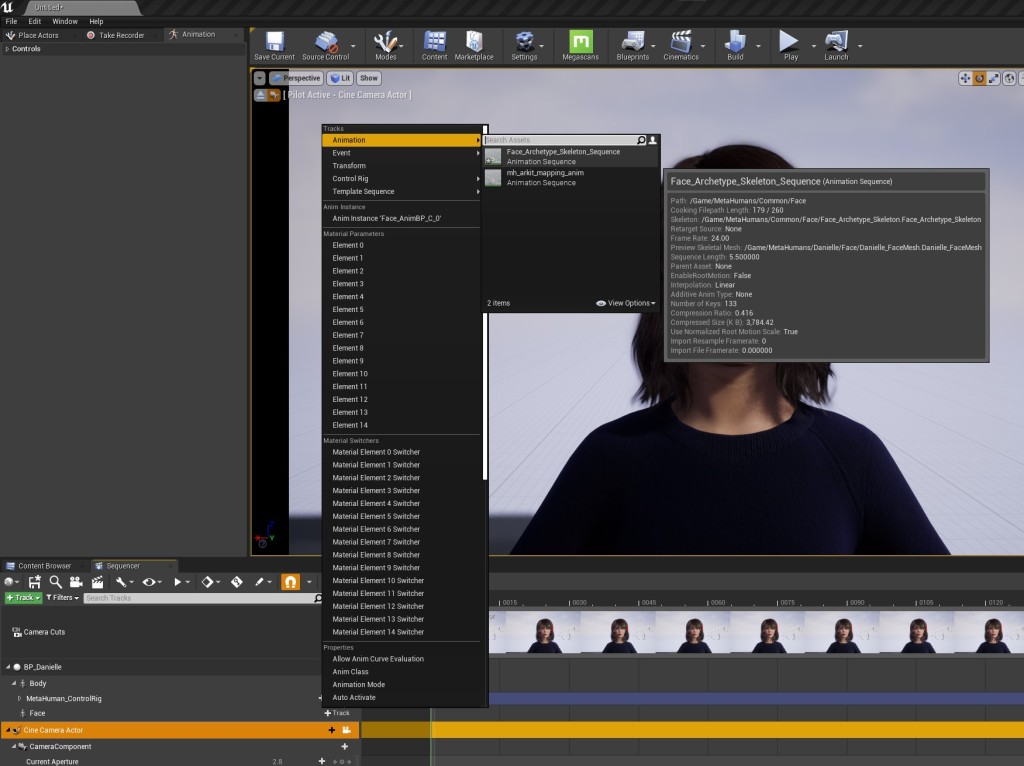
- Delete the “Face_ControlBoard_CtrlRig” track and instead press the little plus sign next to “Face”. From here you should select your previously saved animation from the Animation dropdown menu.
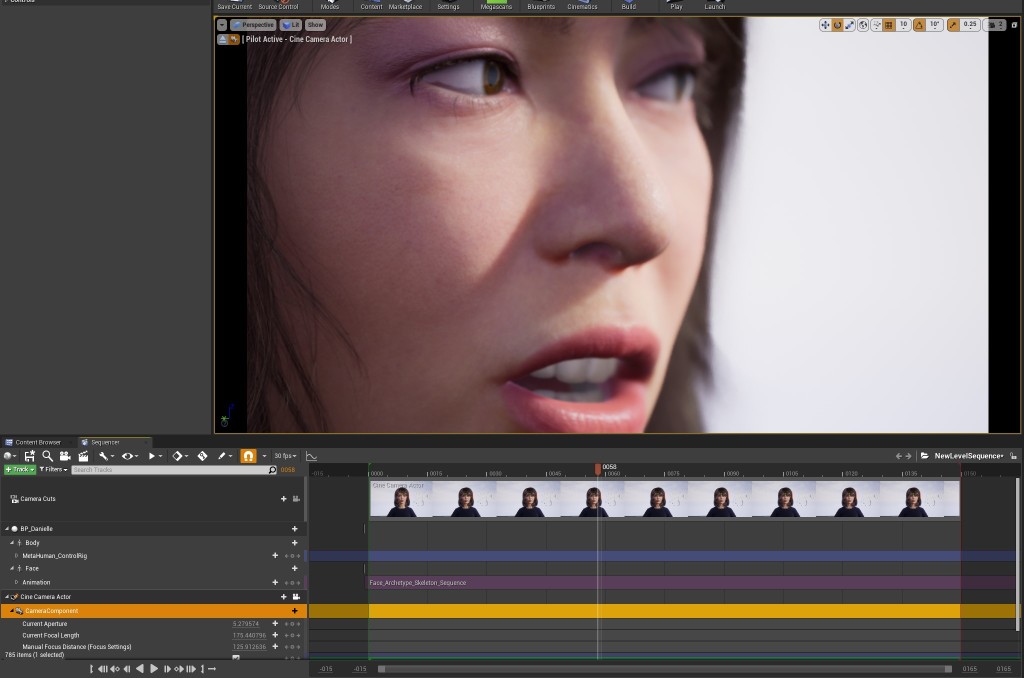
- Now your animation has been added to your MetaHuman in Sequence. Combine these and other animations / sequenced events to make short films and videos!

Leave a comment